Tuesday, September 16, 2014

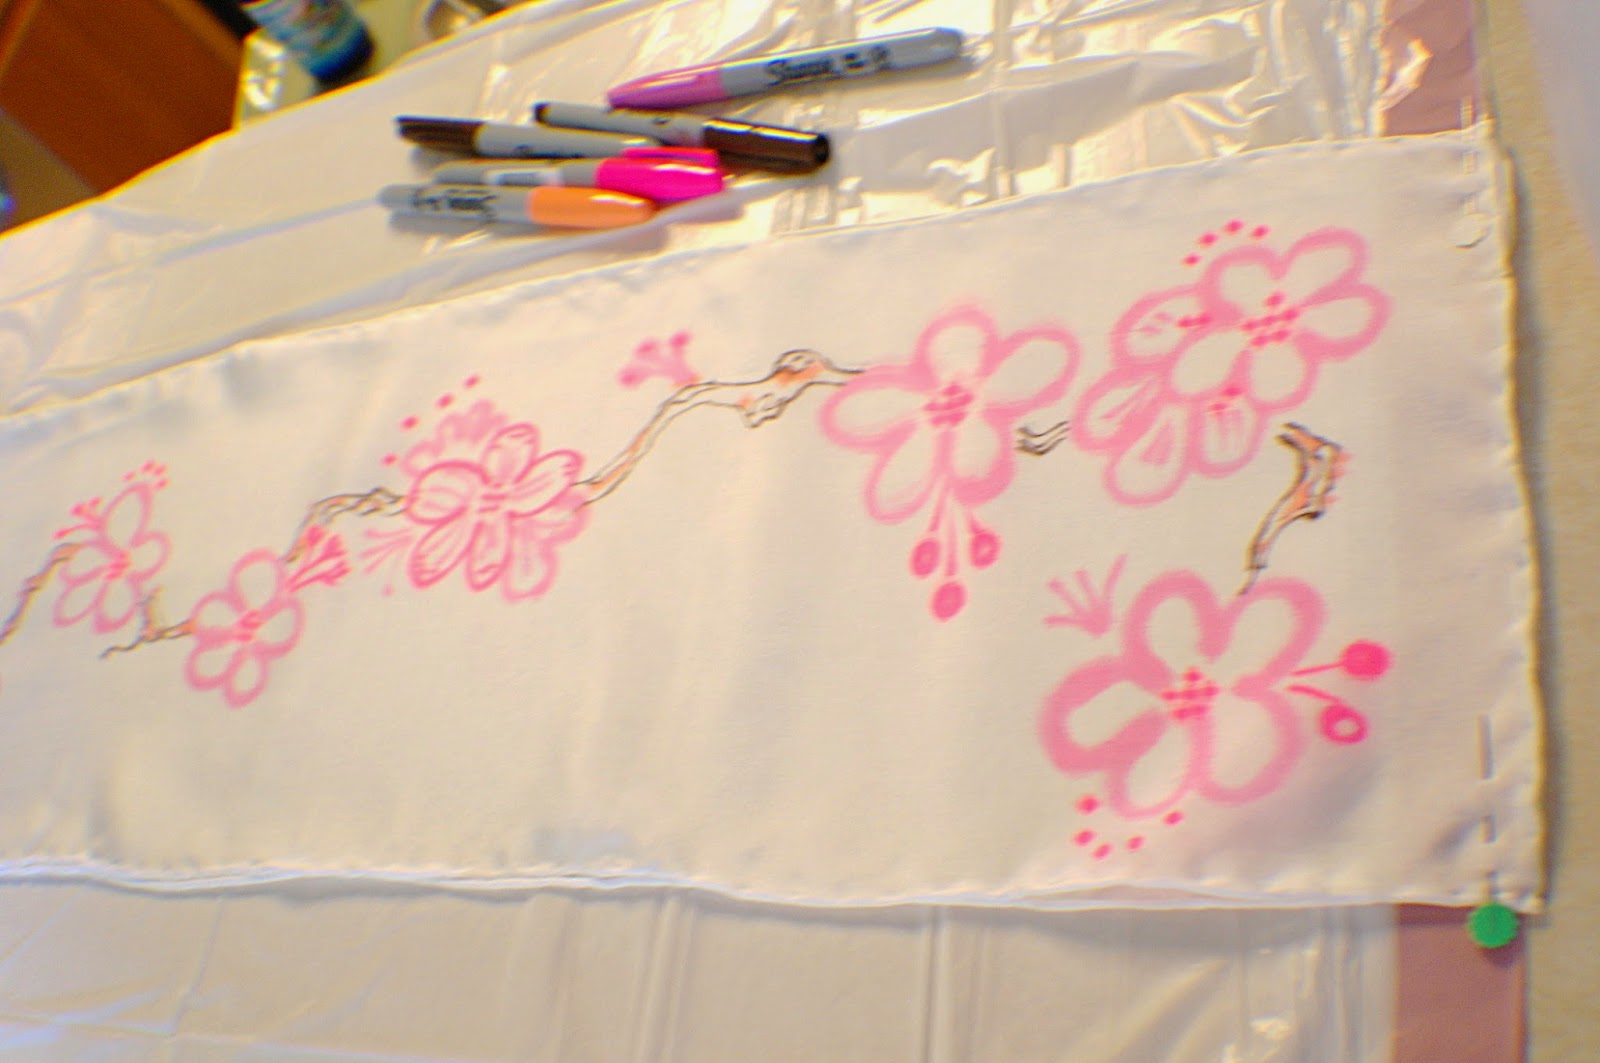
Playing Around: "Hand Painted" silk scarf

A while ago, my mom sent me a white silk scarf and some instructions on how to use Sharpie brand permanent markers and 91% rubbing alcohol to make "hand painted" scarves by drawing on the scarf and then diffusing the marker with the rubbing alcohol for a water color look.  My mom tells me it makes a great project for a get together with a group of ladies.  She did it with her quilting group.


I finally got around to trying it out yesterday.  This is my first attempt. I think parts of it came out really well and other parts - not quite as well as I had no real feel for the process until the end.


You can buy plain white silk scarves inexpensively at DharmaTrading.com. The Sharpie markers can be found almost anywhere in a wide range of sizes and colors and the 91% rubbing alcohol can be found at any pharmacy. I also used a small misting bottle I got at a beauty supply store and a dropper for applying the alcohol.  I covered the surface of my kitchen bar counter with a white trash bag to protect it--be careful as the marker is a permanent (although it cleaned off the counter with the rubbing alcohol).


I began by doubling the scarf and drawing a simple cherry blossom pattern free hand.  The scarf is very thin and if you draw somewhat slowly, the design will go through to the second layer giving you a symmetrical design. The second layer was fainter than the top layer so I re-drew over that side again in places.

After that I misted the rubbing alcohol over the design and let it dry a few minutes - it dries very quickly.  I went back in and drew some more and repeated the drawing and misting process a few times. 


The darker pink Sharpie was quite florescent so I decided to tone it down with some red and peach colored markers.


Ultimately, I decided that I had played around too long and too much of the design had spread to the background or smudged from the surface underneath or faded away.  I could probably have sprayed those areas with rubbing alcohol and blotted the color out, but I decided with the red and peach I had added, a yellow background would look nicer than the white.  I quickly drew diagonal yellow lines through the background and misted those.  I liked the way that misting the background chased some of the flower and branch colors back into the middle of the design so I decided to quit while I was ahead. The whole process, including all the drying times, took about an hour.  This is lots of fun and quite forgiving.


Things I learned:

No drawing experience is required if you stick to simple, abstract or geometric designs.

 The slower you draw, the thicker and more diffuse the lines will be as the color flows out of the marker and into the weave of the silk

If you hold a marker in place on the silk, the color will bleed out into a cross or T shape following the weave of the silk.

If you put too much rubbing alcohol on, it will puddle underneath - which might make a nice design if you are going for that, but be careful of color from the surface below coming up onto the scarf when you apply more alcohol.  You may need to find a a clean place on your surface to work.

You can always go back in and draw on top of what you have already done to add sharper details or layer in color.

You have limited control over the results.

You can use the rubbing alcohol in a misting spray bottle to chase your design around a little bit if you spray it directionally instead of straight down.

You can use tie dye type techniques of wrapping sections with rubber bands, etc with this as well.


Wednesday, July 2, 2014

Making Something for Myself


On rare occasions I actually get around to making a special piece of jewelry for myself.  I made this wire wrapped pendant in a class a few years ago and have worn it a few times, but never had the right chain or cord to showcase it properly.


I recently purchased some kumihimo (Japenese braiding technique) books and a kumihimo disk and bobbins. With these tools I am able to use the supply of satin cord I already have that I use to make satin necklace cords from and create something even more special and elaborate.


I blended the cord colors to pull out the colors in the gemstone cabachon that I used to make the pendant.


I ended up with a beautiful piece in colors that match my hair and complexion very well.


Now that I've learned the technique, I am working on several other pieces to list in my Etsy shop and on my website.


Monday, June 9, 2014

Gardening update


Three weeks ago I blogged about the container garden I had just started.  I just wanted to chime in with an update. 

We added some plant hangers under the upper deck to hang some more shade tolerant plants.  My Christmas cactus seems to like it.

The tiny cucumber, tomato and pepper plants from my last blog post have taken off.  I've never done very well growing peppers.  None of the three I planted seem to be nearly as exuberant as the other plants.

I under planted these two tomatoes with a mesclun lettuce mix and we'll enjoy a nice, very fresh salad with dinner tonight.

I planted many of the containers with herb seeds.  They have sprouted and are just now really getting going.
details

I also put in a simple compost bin
My son's one request was strawberries

Saturday, May 31, 2014

Craft Fair Booth

Photos of my craft fair booth and new table covers.


Monday, May 19, 2014

Gardening Again


It's been three years since I have really done any gardening and longer still since I've done gardening on a scale large enough to produce much of anything other than a few herbs and flowers and the occasional tomato. Our frequent moves have not been conducive to planting a full scale garden. But our current rental house has a nice multi-level deck.  While we use the upper deck that is near the kitchen area for grilling, eating outside, feeding the birds and star gazing, we haven't used the lower deck--until now.  It is a nice, sunny spot with built in benches and has a nearby faucet and is therefore perfect for container gardening.

Over the years, the movers have managed to break almost all of my terra cotta pots, so I recently made a couple of trips to the garden center and hauled home large plastic containers and many bags of potting soil.

The tomatoes have already doubled in size in the last week.  I planted meslun lettuce mix seeds or nasturtiums around the tomatoes.  The lettuce seeds are sprouting already.
There is a mix of containers from what I had on hand, what the previous tenants left behind and the new ones I just purchased. I planted herb seeds in most of the pots.
The little cucumber is already growing like crazy. I planted only heirloom tomatoes and three types of peppers.
Basil and swiss chard seeds are already sprouting.  The others take longer to germinate.

Not pictured are three hanging planters with strawberry plants that my son asked for. Strawberries were the one thing he wanted to grow.

There is not much green showing yet, but hopefully I can post an update in a few weeks. But, let's be honest, I might just be growing squirrel food. They've already been through daily to dig in the dirt.

Tuesday, March 11, 2014

Knitting hemp washcloths


For years I've been using those plastic mesh bath puffs because they make nice lather with my homemade soap, but every single one I've purchased in the last couple of years has self destructed in no time at all. So I pulled out a hemp washcloth I bought once upon a time and have been using that instead. I found I liked it better.  I like a nice textured washcloth and decided to knit some more. 


From Loretta at ThoughtfulGemsCrafts on Etsy, I purchased the light fingering weight yarn and knitted the two cloths pictured on small size 2 needles in a simple pattern.  Hemp yarn wears like iron so these should last years and years. I love the natural look.


Each ball of yarn made one nice size washcloth with plenty of yarn left over.